
Magnetic glass boards are simple in function and appearance but can significantly help streamline your note-taking and creative process. When effectively used, magnetic glass boards provide a visual structure to written reminders and allow users to highlight the most essential information.
They can also provide functional elegance to an interior space, expanding the potential and possibilities of what a simple room can accomplish. Learn all about how these glass boards can improve your daily life and how to make a DIY magnetic glass board all on your own.
What Are Magnetic Glass Boards?
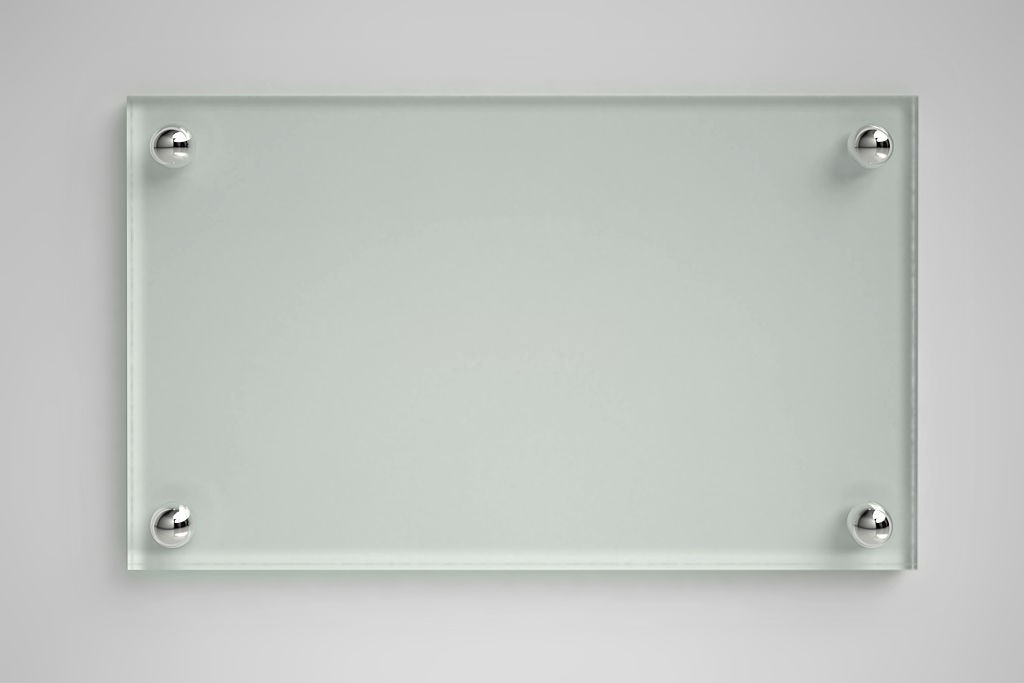
Magnetic glass boards are the modern, updated, and stylish equivalent of a white board. They are both functional and fashionable, attaching easily to available wall space and providing an additional utility to the interior space. Users not only able to write memos on the board, but also able to use the magnetic function of such boards to attach papers of files as well.
These boards can be constructed through a variety of different methods. One popular and effective way is to attach painted glass to laminated steel and then utilize strong magnets that are able to be effective even through the glass layer. Magnetic glass boards get their name precisely because of this unique magnetic feature.
Magnetic glass boards are durable and stylish; they’re perfect for use in universities, hospitals, offices, or even at home, especially for employees who are working from home. Whatever the location, magnetic glass boards can be used to write memos, take notes, and collaborate easily with a team, as well as a variety of other functions.
How Is This Different From Ordinary Glass Boards?
Ordinary glass boards can only be used to write notes; magnetic glass boards expand the features available to users and allow people to attach physical files or papers to the board itself. Due to the thickness of the glass layers, special rare magnets need to be used in order for the magnetic pull to be strong enough.
How Do You Make A Glass White Magnetic Board?
Making a magnetic glass dry erase board is quite simple as long as you have the necessary materials. You need an old or cheap picture frame, a drill, screws, a pizza pan, a saw, and a few blocks of small wood to support the frame if necessary. If you want to refurbish your frame, grab some sandpaper, paint brushes, and paint as well. If you are custom cutting glass, do that before this step. However, using the glass form of an old picture-frame works just as well.
Gather all of the materials. Sand down the framing and paint it with white paint. Then, use the backing as a guide to cut out a rectangle shape out of the pizza pan. Place the pizza pan in the back of the frame with the glass in the front. If your frame needs extra support, use the drill to screw in the wooden support blocks. Now, the metal from the pizza pan should attract magnets while the glass can be used to write messages on.
How Do You Make A Magnetic Board By Yourself?
While it is certainly possible to buy magnetic boards from a manufacturer, it’s also possible to easily build your own homemade magnetic board. The DIY process is easy to understand and only requires a few simple materials.
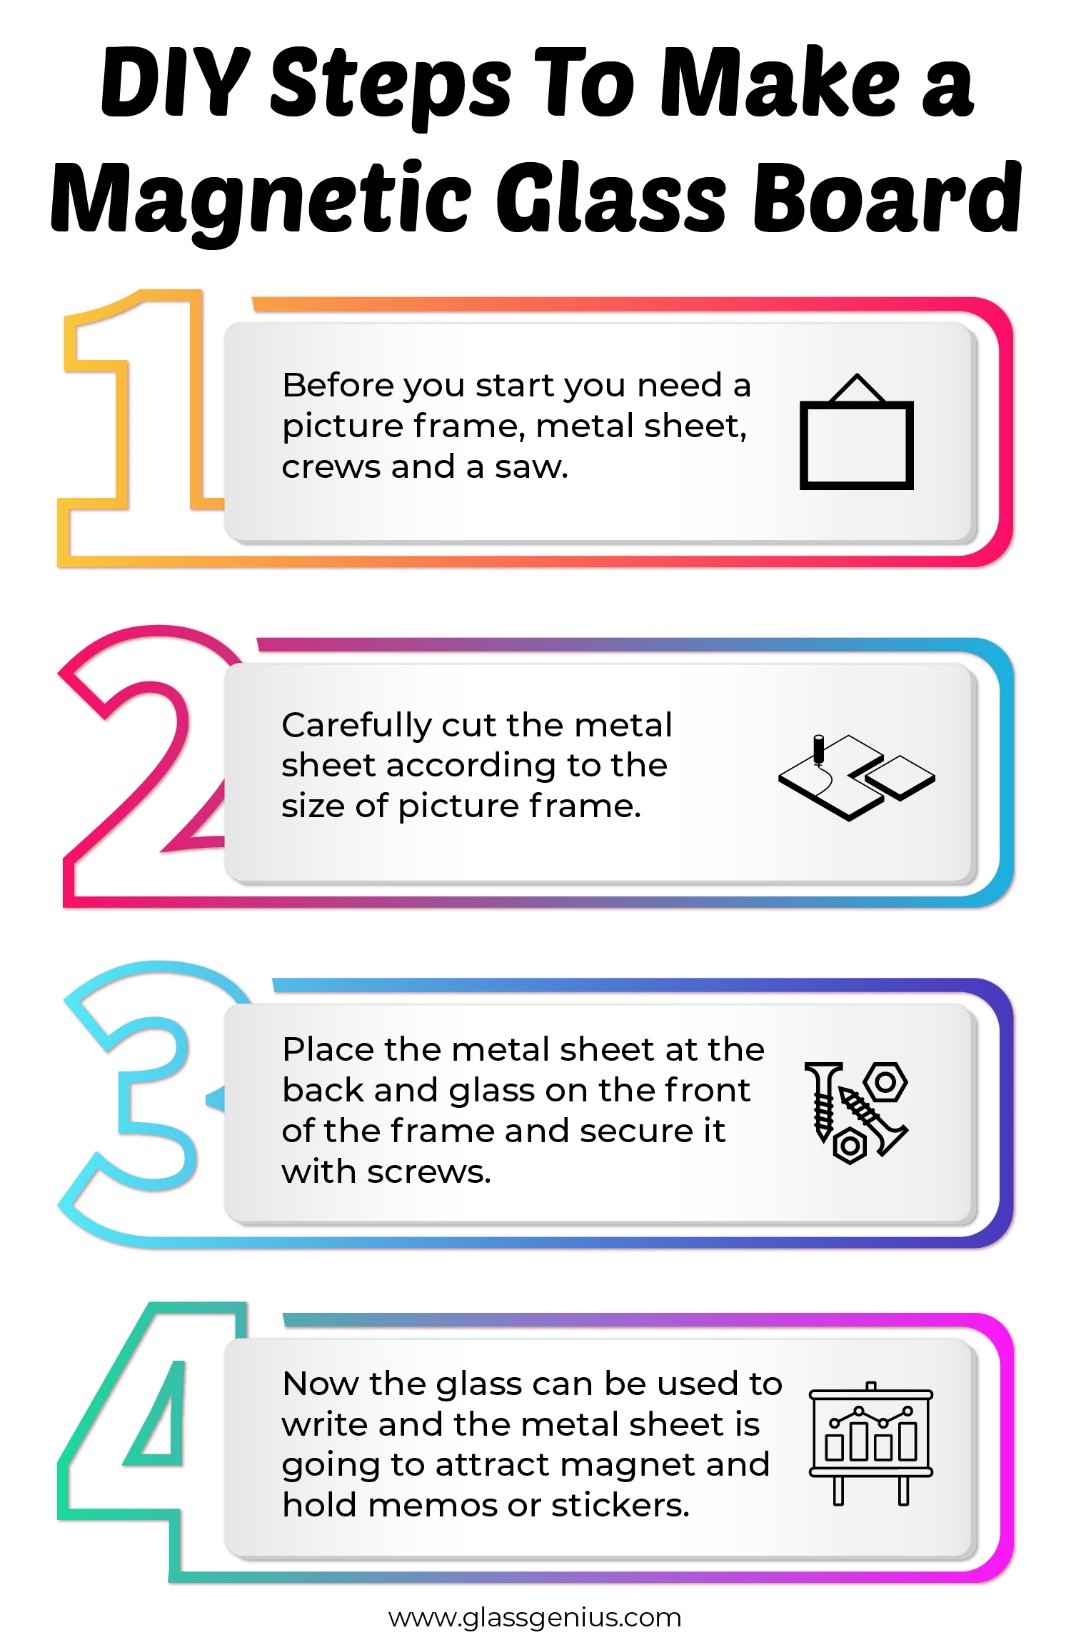
In order to make a DIY magnetic board, you will need small paintbrushes, sandpaper, a flat picture frame, magnets, and 16-gauge galvanized sheet metal.
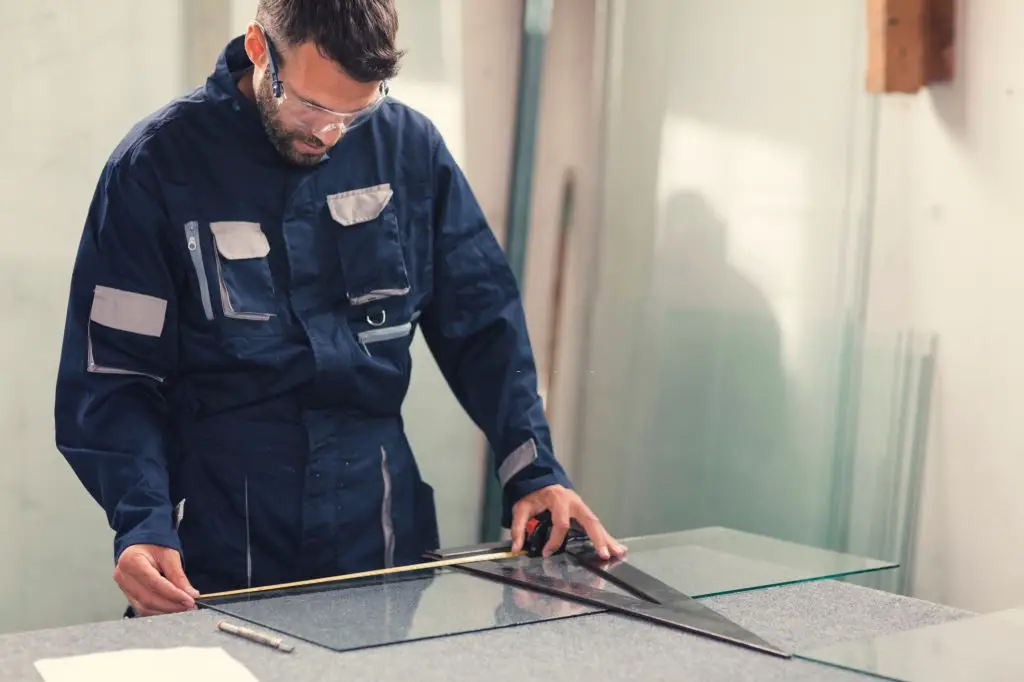
- First, cut the galvanized sheet metal to the same size as the backing of your chosen picture frame. Many hardware or metal stores will be able to cut metal for you.
- Next, prepare the old picture frame by sanding the edges smooth.
- Next, apply the primer and your desired paint color to the picture frame. Add any decorative touches you prefer, such as accent color stripes or patterns.
- Next, attach the metal sheet into the frame and strongly secure it.
- Finally, hang up your magnetic board or place it on the desk, and attach memos, stickers, or pictures using the magnets.
What Can I Use A Magnetic Board For?

A magnetic board —even a DIY magnetic board— can provide a variety of useful functions. You can attach some important papers or decorate it with pictures and designs using the magnets. There are also a variety of accessories that can help enhance what you can do with a magnetic board. Using markers, you can easily write notes on the board. Magnetic erasers can attach directly to the board itself and remove any writing. Rare earth magnets are powerful magnets that provide a powerful magnetic range when attached to the board.
How Do You Make A Magnetic Dry Erase Board?
Making a magnetic dry erase board can be a bit time intensive but is ultimately rewarding. You will need a galvanized steel sheet, a dry erase brush-on kit, a drill, screws, magnetic adhesive sheets, a Bosch jig saw, a drywall anchor, and a smooth paint roller.
First, drill holes in the corner of your steel sheet. Then prime it and cover it with the dry erase brush-on kit using the smooth paint roller. If you need to make space for an outlet in your sheet, use the jig saw to cut out the shape. Next, place the board against the wall and drill it in using the screws and drywall anchors. At this point, your magnetic dry erase board should be completed and ready for usage. You can attach any files and materials using magnets and also write messages.
Wrap Up
Magnetic glass boards are an essential item in any office or work environment and are also extremely useful at home as well. Whether you decide to purchase a pre-made magnetic glass board from a company or want to custom-build your own DIY magnetic glass board, the final product will be undoubtedly worth adding into your daily life.